Showing posts with label Valentines. Show all posts

Thursday, 13 February 2014

Valentines DIY: Jar of Love

To make your Jar of Love you will need:

Pretty paper, the origami/scrapbooking type.
Glue dots or glue stick.
I love you, either written or printed out in the style of a fortune cookie.


Instructions

1. Cut circles. My circles have a diameter of 4.5 inches, but you could go smaller – down as small as 3 inches – with no problem. Find a saucer, bowl, Tupperware, or some other round object with a diameter of approximately 3 inches and trace it over and over and over. 


2. Fold one of the circles in half, but don’t crease it. Hold it shut at the edge where the two sides meet. Once you've made a few cookies, you’ll be able to put the fortune in at this step. 


3. Using your other hand, grab the two “corners” – the places where you would have creased it if you were creasing it. Using your thumb and ring finger, gently pinch those two corners together, while pushing the centre backwards with your pointer finger. It sounds much more difficult than it is. When you do this, one of the pieces will crease underneath the other piece (or, if you are holding it, they will form a crease with both edges in the same direction – both ways look nice, so it doesn't matter). Crease the centre a little on the outside. 


4. Add a glue dot/dab of glue between the two ends of the cookie to hold them together. This is what will keep the cookie in the cookie shape. 


That’s it. Your paper fortune cookies are done. Now repeat three or four dozen times and put them all in a nice jar or bowl.


Thursday, 6 February 2014

Romantic Eyes: Valentine's Day Make Up


This simple look uses products by Avon.

I was shuffling through @pintrest one evening and stumbled across a pink smoky eye  Immediately I thought of the Cupids Kiss duo I had upstairs.

Using the new eyeshadow brush with smudger, I applied pink to the whole lid working it up to just above the crease. I then took the silvery grey and with the smudger created a 'v' shape from the corner of my eye and the crease. I then took a fluffy brush and blended the two together.


I back-lined my top lash with Blackest Black Glimmersticks eye liner and added 2 coats of extreme length mascara and finished the top lashes with a coat of Infitize. My brows were filled in with blonde brow definer.


My blusher was Avon's Pink Glow


I finished the look off with a coat of Melondrama.

Thursday, 23 January 2014

Valentine's DIY: Easy Crochet Bunting


I was looking for something different to do, and I came across this idea while I was googling. 

Simple Crochet Bunting

The only stitches you need to know are:-

ch - chain
dc - double crochet (single crochet in US)

I'm using a 4mm hook and double knit wool.

***

Row 1.  First, chain 2.


Row 2.  Work two dc into the second chain from the hook (ie. the first chain you made).


Row 3.  Turn your work.  Ch 1.  Dc twice into each of the two stitches.

You should now have four dc stitches in your row.


Row 4.  Turn your work.  Ch 1.  Dc twice in the first stitch then dc once in each of the remaining 3 stitches.  (5 stitches in row.)


Row 5.  Turn your work.  Ch 1.  Dc twice in the first stitch then dc once in each of the remaining 4 stitches.  (6 stitches in row.)

Row 6.  Turn your work.  Ch 1.  Dc twice in the first stitch then dc once in each of the remaining 5 stitches.  (7 stitches in row.)

 Continue working two dcs in the first stitch of each row and one in each of the rest.
Turn.  Ch 1.

Keep going until you are happy with the size of your triangle.


Fasten off and sew in the end of the yarn.

You can do the same with the original end of the yarn (at the bottom) or thread it through a glass bead before knotting and cutting.

To join your bunting triangles together, select your choice of yarn.  I chose cream.  Chain 30 (or more if you want a longer tie) and then, right side of your triangle facing you, carefully double crochet along the top.

Carry on chaining (I chained 6 in between each triangle) and dc-ing along the tops of all your triangles and then chain an additional 30 for the other end of the tie.  Turn your work, chain 1 and then dc your way all the way back along both the chains and dcs.

Fasten off and sew in your ends.


What do you think?

Thursday, 16 January 2014

Valentine DIYs: Valentine's Wreath

I thought as Valentine's Day is looming, and I've been scrolling through different decorations on @pinterest, that I would try my hand at making a wreath.

As we are still feeling the pinch of the post Christmas/Birthday season I have made this from items I already had in the house.


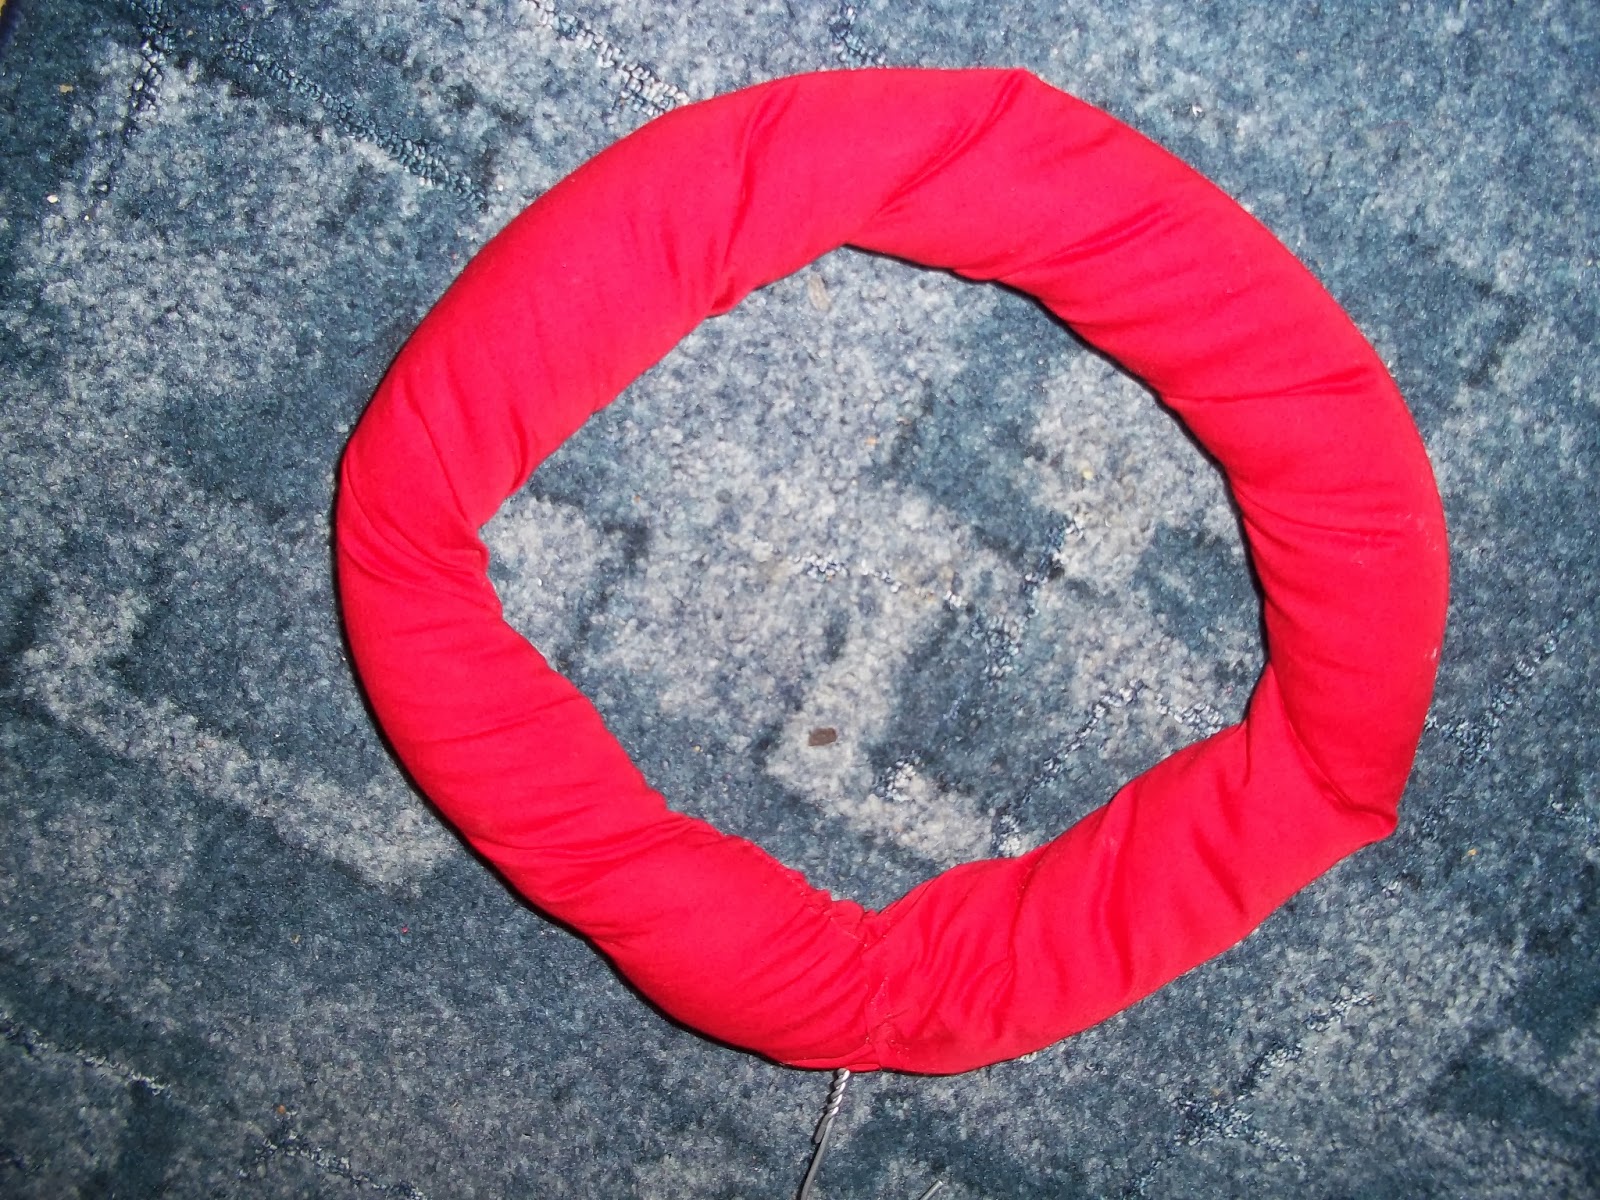
Here I have an offcut of red material, a wire coat hanger and the inside of a laundered old pillow.


I made a rough circle shape out of the hanger, don't worry if it's not totally round as you are adding the wadding next. (apologies for the lighting, daft Yorkshire mid afternoon drizzly weather)


Then I took the red fabric. This offcut already had a hem on there which made then next step slightly easier/neater.


I wrapped the material around the wadding and sewed it with a rough running stitch. I did this all the way around the circle.


Then my mind moved to how do I decorate this?


BUTTONS!!! I have so many different styles, colours and shaped buttons. So I selected a few.